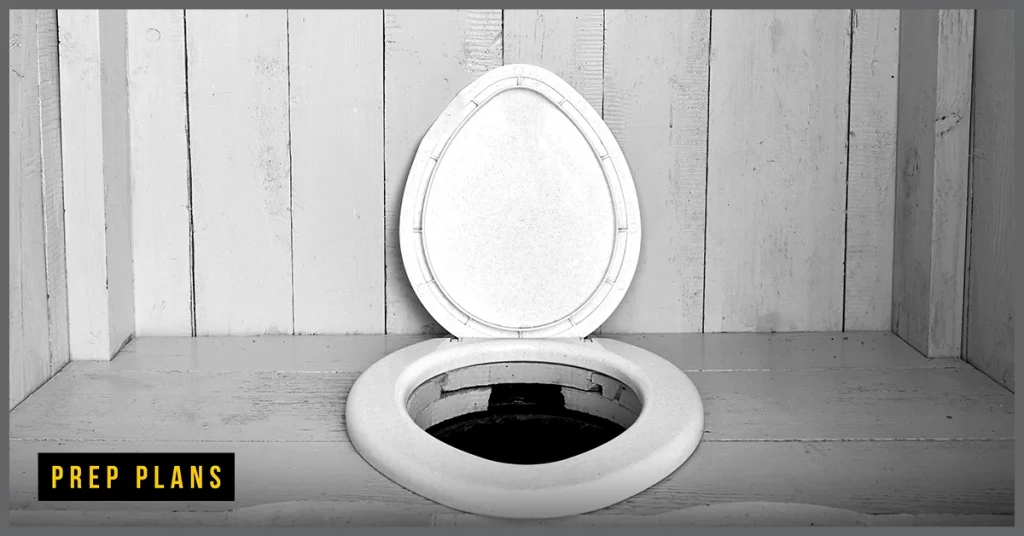
If you’re looking for a more environmentally-friendly and economical alternative to regular toilets, which consume dozens of gallons of water every day, you may be wondering how to build a composting toilet.
The idea behind a composting toilet is that the waste introduced breaks down inside the system and becomes compost. The waste is then taken to a larger compost pile where it incorporates with other organic matter, which can be used as a soil fertilizer.
We’ve done the research and created this DIY composting toilet guide to help you get started on your composting toilet project. Follow these instructions, and you’ll be producing usable compost in no time!
Why Use a Composting Toilet?
There are a lot of benefits to turning your waste into usable compost. It completes the nutrient cycle, cuts down on water use, and creates a usable product.
Compost that contains human waste is often called humanure. Humanure is best used on plants like fruit trees or shrubs.
The great thing about composting toilets is that you can build them anywhere. From a tiny house or an RV to remote off-grid homes, a composting toilet can serve almost any type of lifestyle.
What You Need to Build Your Own Composting Toilet
Make sure you have all the materials and tools you’ll need to make your own DIY composting toilet system.
DIY Composting Toilet Build Materials:
- 3-inch stainless steel screws
- Plastic 5-gallon bucket
- Wood glue
- Wooden planks
- Toilet seat and toilet seat hardware
- Drill and drill bits
- Circular saw (a hand saw will work as well)
- Jigsaw
- Screwdriver
- Sanding block or sandpaper
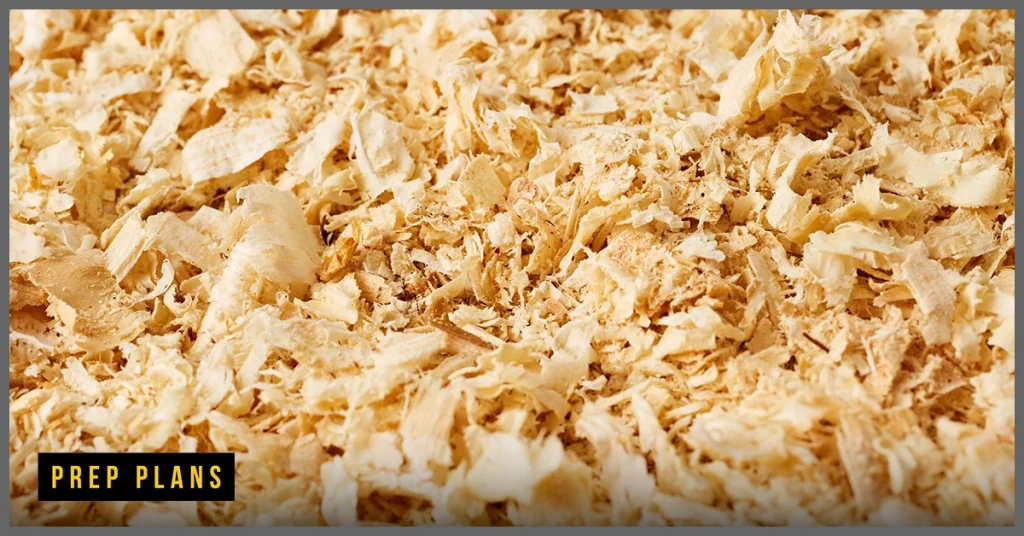
- Dry organic matter like sawdust or wood shavings
- A scoop
Now that your materials are ready, let’s get started on your DIY composting toilet system.
Step One:
Cut your plywood into a square shape that is large enough to cover your bucket with room to spare on the sides. You can use a simple plastic bucket.
Most 5-gallon buckets are 1 foot in diameter, so we recommend a 2 feet by 2 feet hole.
When building your own compost toilet, consider these things:
- Where will it sit?
- How much space will it take up?
- Who will need to access it?
Having this knowledge will make doing your own DIY compost toilet project much easier as you’re deciding on the size to build.
You will use your circular or hand saw to make your plywood square. The square will serve as the top of your composting toilet.
Make this cut by using a sawhorse or other steady surface to brace your plywood on. Once the wood is secure, cut the plywood to size.
Step Two:
Use your drill and a larger drill bit to create a hold in the center of your plywood square. Once you have a large enough hole drilled, use the jigsaw to cut out an opening so you can remove your bucket.
The shape of the hole you’re cutting can either be circular or more oval-shaped.
A suitable method here is to set the toilet seat onto the plywood before you begin to cut. This ensures that the seat will fit over the hole.
Step Three:
Now you’re going to cut your wooden planks to size. Use the planks to construct the box that will be the container part of your composting toilet.
Once you’ve cut your planks, fasten them together using wood glue and screws.
Start by constructing the bottom layer of the box first, and work your way up from there.
Make sure you build your box to a comfortable height to sit on. The box also needs the capacity to contain the entirety of the 5-gallon bucket that will sit inside.
Step Four:
Set your plywood top onto the box to ensure that the measurements match. Fasten the plywood top you constructed to the top of the box. You’ll also want to use both wood glue and screws for this step.
Make sure you use at least one screw in each corner of the top of the composting toilet. The last thing you want is the lid to shift and the alignment with the bucket receptacle to be off when using it.
Step Five:
Secure your toilet seat over the hole you cut into the plywood top. A toilet seat isn’t an integral part of this project. If you decide to forgo the toilet seat for now, you can always add one later.
If you have decided to attach a toilet seat, gather your toilet seat hardware and install it.
Keep in mind that a simple compost toilet design like this one will not have a fan to redirect the smells. So if you do decide against a toilet seat, you’ll want a lid of some sort to keep your humanure covered until it’s removed.
If you don’t cover your compost toilet with a toilet lid, you may encounter foul odors.
Step Six:
At this point, you’re ready to add your bucket to the box. Lift the lid of your toilet seat and center the bucket inside.
Fill your bucket with the dry organic matter you’ll be using to absorb the waste and moisture.
Peat moss and wood ash also make excellent composting materials for your composting system.
Wood ash, peat moss, and wood shavings are all absorbent materials that will cover your solid waste.
Make sure you have extra dry organic material close by, as you’ll want to scoop more in after each use.
Using Your Own Compost Toilet
Whether you constructed this composting toilet for your tiny home, off-grid living site, or just as an addition to your regular residence, you’ll want to follow some basic rules to ensure it functions as intended.
Keep in mind that a properly functioning compost toilet doesn’t have constant foul odors, needs to be emptied regularly, and should only be used for human waste material.
First, always make sure that your bucket has a fresh layer of organic material inside before using it.
Never put toilet waste into the bucket without the organic material, or the waste will not compost properly, and you’ll be left with an unusable bucket of biohazardous material.
Second, once you’ve used the composting toilet, scoop a thin layer of the dry organic matter on top of your waste. This step will help it break down more quickly and eliminate any lingering odor associated with the toilet waste.
Last, always make sure to empty the bucket before it becomes full. A good rule to follow is if the bucket inside of your composting toilet has reached 3/4ths of the way full, then it’s time to dump it into the center of your outdoor compost pile or your composting bin.
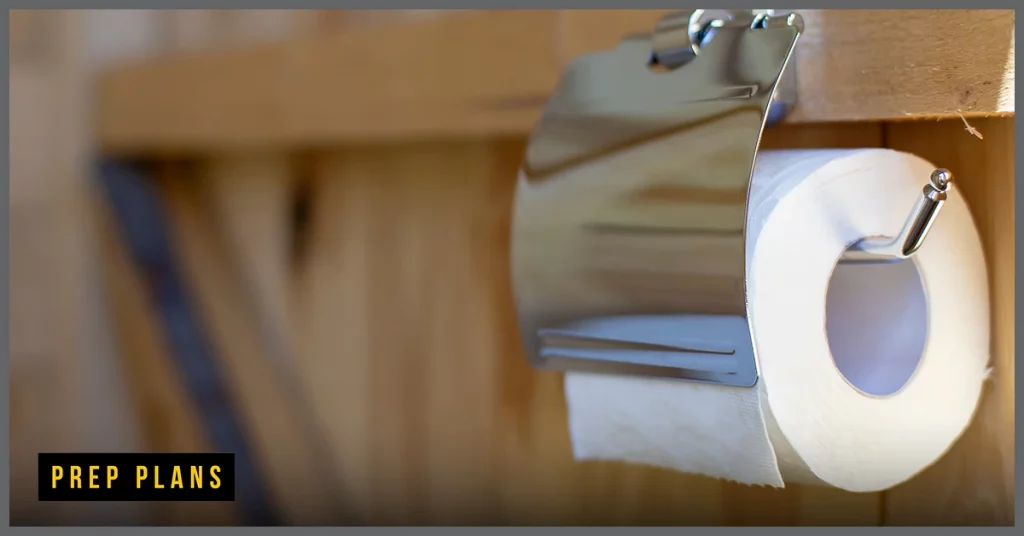
If you’re adding toilet paper into your DIY composting toilet system, make sure you use unscented, compostable toilet paper. This is recycled, unbleached toilet paper, which will ensure that the toilet paper doesn’t disrupt the microbial life needed to break down your waste. The thinner the paper, the faster it will break down and be incorporated back into the soil.
What To Do With The Compost From Your Composting Toilets?
It’s widely recognized at this point that the compost you generate from your composting toilet system should not be added to a vegetable patch. There’s too much of a risk for E.coli or other harmful bacteria to come in contact with your food.
A good rule of thumb is to only use compost from your composting toilet system on plants that are not food-bearing or when the food is located more than 2 feet from the ground.
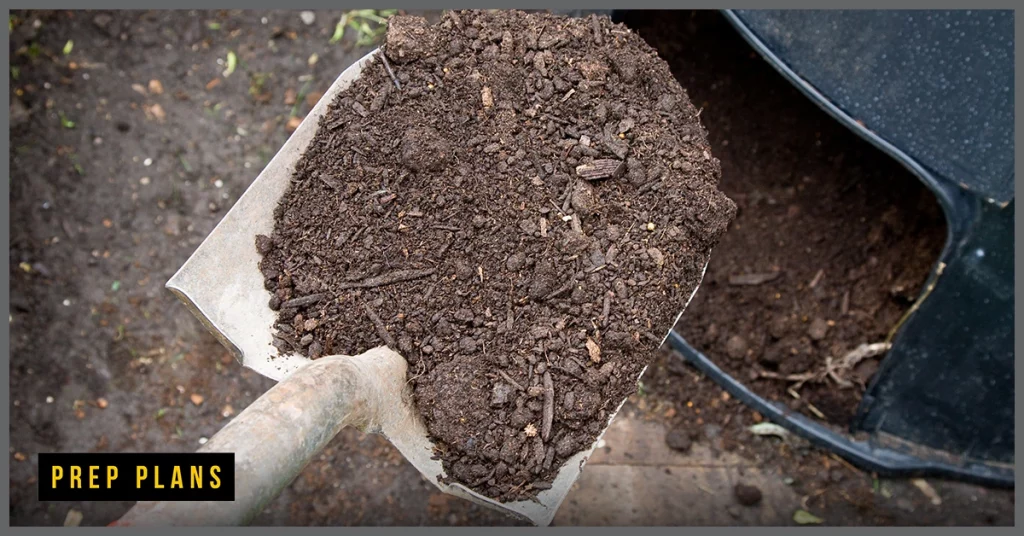
It’s best to allow compost from your composting toilet system to break down in your outdoor compost pile or compost bin for 3 to six months before using it on your land.
The reason behind this is the same as with all compost you generate; the organic matter in the human waste needs time to break down and become soil.
When your compost is breaking down, make sure to turn the pile regularly and ensure that it always has adequate moisture.
Moisture is an essential part of the composting process, and your toilet waste will break down faster if the moisture levels are adequate.
How To Process Your Compost

When you add the human waste from your compost toilets to your compost pile, you’ll want to create a hole in the center where the hottest part of the compost pile is. Dump your waste from the compost toilet here and cover the area back up.
The high heat from the center of the outdoor compost pile will break down all the waste more quickly.
One of the best uses for the humanure you generate is to use it in a fruit tree orchard. Since the fruit grows high off the ground, there’s little to no risk for contamination.
Another great use is identifying an area on your land with native trees and plants that could use a nutrient boost.
Spread your compost a few inches deep in that area, and make sure that no kids or pets play there for a month or two until the compost has been absorbed and incorporated into the soil.
Final Thoughts
Building a composting toilet presents many benefits and is not a difficult task. If you are handy with common tools, you will be able to safely make a composting toilet by following the steps in our guide above.
Now that you are well versed on how to make one, start working on your compost toilet now!