Clothing yourself, finding shelter, and building fires are probably the most important survival tasks you can do. But what about preserving meat? How will you sustain yourself if that’s your only source of food?
Well, thanks to time-tested techniques that have kept people alive for generations, preparing meat is relatively simple. Here is the ultimate survival guide on how to preserve meat in the wild.
Why Do We Need to Preserve Meat?
The meat of animals is rich in protein, containing all the amino acids required for human survival. It is also a great source of vitamins and minerals, particularly vitamin B12 which almost exclusively can be found in animal products. Meat has been an important part of our ancestors’ diets ever since they mastered fire. How do you think cavemen obtained their food? Animal meat was one of their main sources of food before farming began to dominate our lives, but that doesn’t mean it’s any less necessary today.
Surviving Longer Periods Away from Civilization
It takes time to set up traps properly or learn how to fish without modern fishing equipment. How can you be sure that you’ll succeed? How will that food sustain you during the period of time it takes to build your shelter or find clean water? The answer is simple – food preservation! Hunting and preparing what you catch allows you to stay out in the wild for longer periods of time without having to worry about finding new sources of food. This comes in handy if you need to bug out or stay in a remote place for a while. If you do run into trouble, preserved vegetables and fruit will provide you with enough energy so that you can spend more time on finding proper shelter, water, and getting your hunting gear ready.
Steady Source of Protein
By having a steady source of protein available, your body won’t start breaking down its own muscles for fuel which would leave you weak and less able to cope with the demands of living outdoors. As any survivalist knows, you have to maintain your strength and ability to potentially be mobile if any threat comes along the way.
Preserved Meat has a Long Shelf Life
If preservation techniques are applied properly (with some exceptions), meat proteins can last for years without spoiling. This can be from just a few days to up to three months or more.
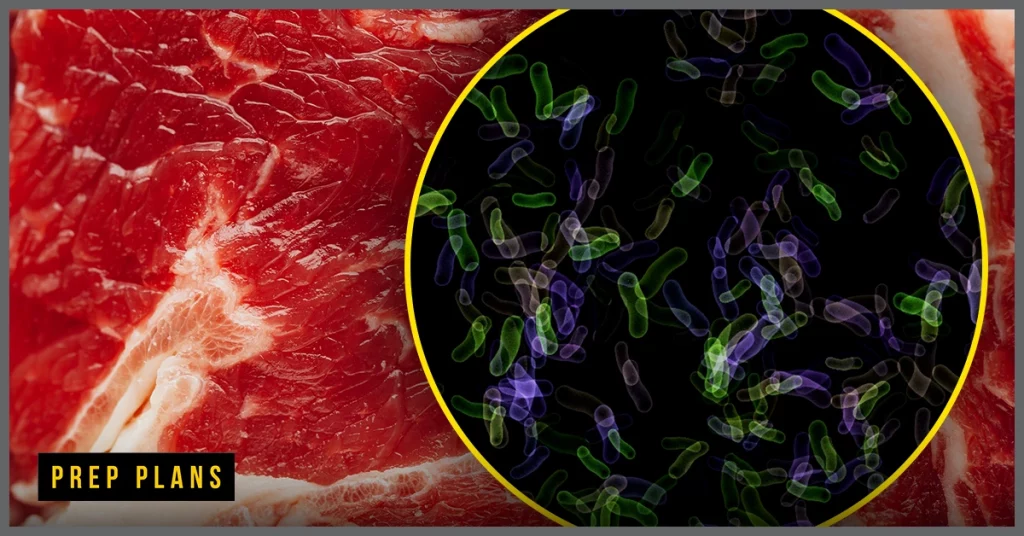
Reduces Potential Sickness
Not worrying about stomach problems after eating what you catch is the biggest reason why having meat prepared properly in the wilderness is so vital. Food poisoning is no joke and can set you back for a few days, so always make sure your food is cooked and stored properly to keep it away from harmful microorganisms that can spoil it. Anything you can do that prevents bacterial growth for your food will set you up for anything that can happen when SHTF. If you do experience stomach pains after eating any cured meat, you may want to throw it out to be safe.
How Long Does Wild Preserved Meat Last?
The biggest factors affecting preserved meat shelf life are the storage conditions and the preservation method. How clean was the environment where you kept your meat? How did you store it? How did you prepare it for long-term storage? There is no universal answer to this question because even a slight change in any of these parameters can have serious consequences on preserving meat for longer periods of time. All the dehydrated meat you prepare may last from a couple of days or up to a month, or longer but it all depends on your preservation methods.
Meat Freshness and Storage Conditions
If a piece of fresh meat smells okay, has a firm texture and a rich red color, it is safe to eat. If its edges have started browning or if it has developed an unpleasant smell that wasn’t there before – throw it out.
Properly stored fresh meat can last from several hours up to several days. It is best to do your meat preservation as soon as you can on what you just caught, but if you do need an extended period of time to prep your meat, have an airtight container to store it to buy yourself some time.
How Long Does Fresh Meat Last?
Fresh meat can be kept in a clean, dry place for up to two days. Warm and cold temperatures will also play a role in how long the meat can stay good before spoiling. In the wilderness, it’s best to build a fire as soon as you kill an animal because preserving freshness will be more difficult. We’ll discuss more on this later.
How Does Wet Weather Affect Shelf Life?
If there is high humidity or rainfall, storing your meat in a cool and dry location is vital to ensure its freshness. Rain can open up the potential of increased bacteria and bugs.
How Long Does Frozen Meat Last?
If you’re able to freeze your meat while in survival mode, make sure you follow proper guidelines. Cleanliness and safety are the most important factors when freezing it. When properly frozen with modern equipment, meats have been shown to last from several weeks up to several months without noticeable loss of quality.
If you are bugging out in an area with cold climates where the temperature surrounding you can get below freezing and you don’t have a freezer, be very cautious of storing your food outside in the snow. It can seem like a good idea since it is so cold, but if you place your stored food in the incorrect place or somewhere that gets consistent sunlight during the day, then you may be opening yourself up to your food spoiling. There are other options to create a natural refrigerator out in the wilderness if you don’t have a generator for electricity to run a freezer.
Conditions for Bacterial Growth
Bacteria don’t like dry conditions, but they love wet and damp ones. That’s why preserving food and meat with high humidity and water activity values is a recipe for disaster!
The best conditions that promote bacterial growth are those with a temperature ranging from 40˚F to 140˚F and a water activity of 0.85 or higher.
What Types of Meat can You Preserve in the Wild?
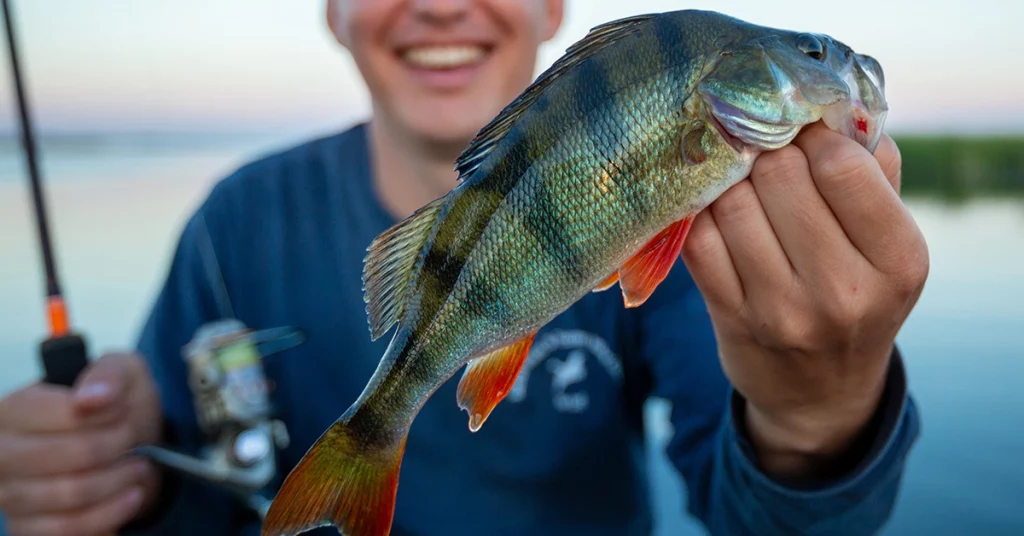
A great survivalist can preserve practically any kind of meat in the wild. That means that preserving elk, deer, rabbits and even fish is perfectly doable if you have access to fire, salt, and water. So if you can catch it, you can likely preserve it.
Necessary Tools for Preserving Meat
Most of us are used to modern conveniences like freezers and refrigerators which make preserving meats easier than ever before. But what happens when you find yourself stuck in the middle of nowhere with no electricity or modern amenities? The first step towards how to preserve meat in the wild without modern equipment is ensuring you have the right tools and items to get the job done.
Shears
Shears are an essential item when it comes to cutting meat efficiently! They help to cut through cartilage and bone with ease, making them a vital item for preserving meat. Shears made of high-quality stainless steel are preferred over those made from carbon steel as they can resist rust better than their counterparts.
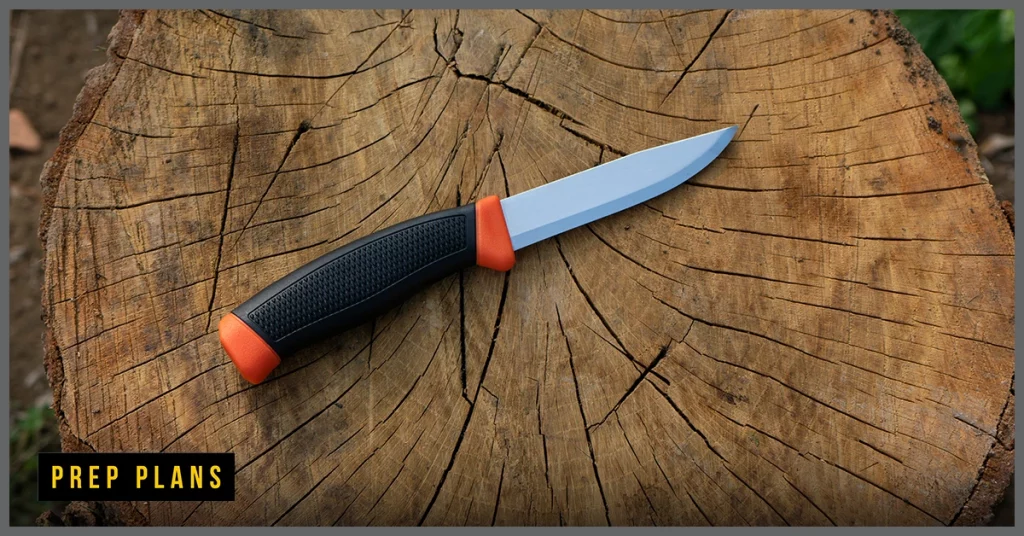
Knives and Cleavers
Sharp knives and cleavers are necessary to cut, process and prepare raw meat for preservation. Knives with a 2-3″ blade are usually preferred for outdoor use. Knives with smaller blades help to preserve meat freshness while ensuring the process is both safe and efficient. Cleavers provide a sturdy chopping surface to cut through bones, thicker joints, and any connective tissue you may come across.
The sharpness of the blade is directly correlated with the efficiency of cutting and preserving meat. Harsh blades tear through the flesh instead of cleanly slicing it which can leave your meat dry and unusable. Knives with a sharp, single-edged blade are best for cutting and preserving meat. Knives with serrated blades can also be used for cutting, but they cannot provide the same level of efficiency as their cleanly edged counterparts.
Sharp Knives vs. Serrated Knives
Both types of knives have their own unique advantages and disadvantages. Knives with a sharp, single-edged blade are easier to clean and maintain compared to those with serrated edges. Knives with serrated blades can resist corrosion better than clean-edged ones but they require more attention afterward. Sharp knives keep the meat fresh while serrated blades tear through it leaving chunks of meat in their wake.
Portable Cutting Mat
If you’re cutting meat in the wild, keep your cutting surface clean by using cutting mats for meat. Portable cutting mats allow you to carry on cutting without worrying about contaminating fresh cuts of meat with dirt and bacteria leftover from previous uses. You can carry multiple cutting mats with ease by rolling them up like a map or sheet of paper and are very handy to do the job when you need to travel light while surviving in the wilderness.
Meat Bags
These are a must-have when storing game meat. These can be made from synthetic leather and help to keep your meat clean and free of moisture while it is stored.
The best thing about these meat bags is that they also allow proper air circulation, which promotes drying meat during storage instead of rot. This allows you to store freshly killed game for several days without worrying about spoilage.
Rope
Rope is another essential item when hanging the animal. Ropes are what you will use to attach the meat bag to a hanging rack so that it can properly dry during storage. You’ll need rope with at least 3/8″ in diameter, though ½” is preferred.
Fire
It may seem obvious that survivalists need fire to preserve meat in the wild, but it’s not just about cooking the meat. Fire is also used for smoking it which can make your survival rations last much longer than usual. Animals are scared by fire so you should build a campfire before starting to hunt instead of building one afterward when you want to cook what you’ve killed.
Purified Water & Salt
Water has an important role in preserving meat simply because bacteria don’t survive well in water with low acidity levels or high salinity levels. When preserving survival meat, always ensure that salt and water are present in proper amounts – if they are not, then there won’t be any preservative effect.
Citric Acid
Citric acid is a preservative that prevents bacteria from growing in your meat. It inhibits the citric acid cycle which kills bacteria and destroys the enzymes that cause decay. Adding citric acid to salt makes it a better preservative because citric acid allows salt to preserve proteins, inhibiting their ability to grow bacteria, making citric acid a much better preservative than salt alone.
Place your salted meat in a container and leave overnight. Citric acid will make its way into the meat through osmosis, leaving you with fresh, clean preserved meat for storage or cooking.
Gloves
Gloves are great when prepping any of the meat when cutting it, or even dealing with the fire. Having gloves that are made out of a fire resistant material can help you position the wood around the pit if you need to spread any coals out more evenly.
Start Preparing Your Space and Meat
There are several ways to preserve meat you’ve caught in the wild, some of them are better than others, but each one requires different tools and layouts. The following methods are considered best practices by most survivalists:
Find a Clean Area
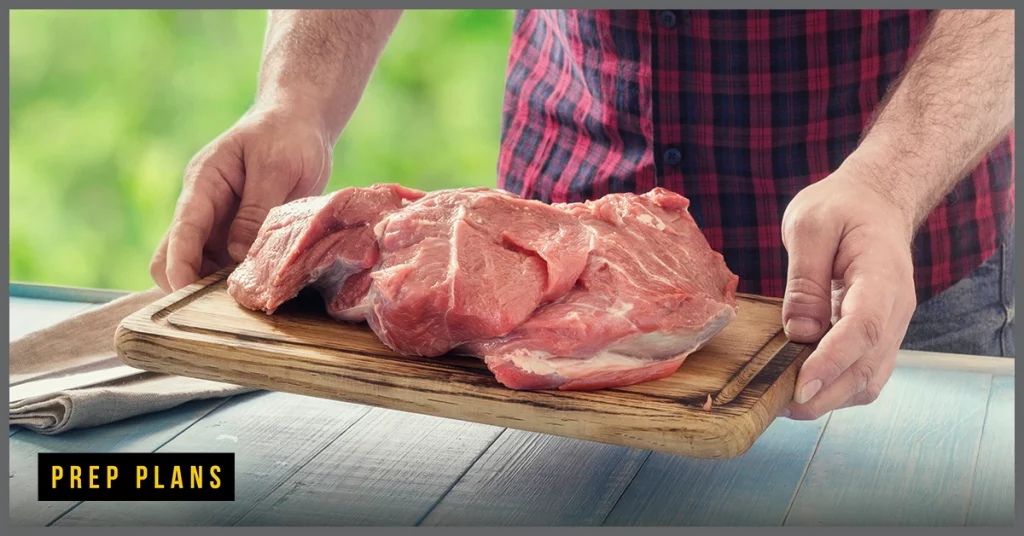
The first step is finding a clean area to work on your kills. Make sure there are no berries or stones near your fresh kill. If they’re stuck to the animal’s skin – remove them! The same rule applies for dirt, grass stains or bits of fallen leaves. Make sure you clean your kill as much as possible before starting the preserving process.
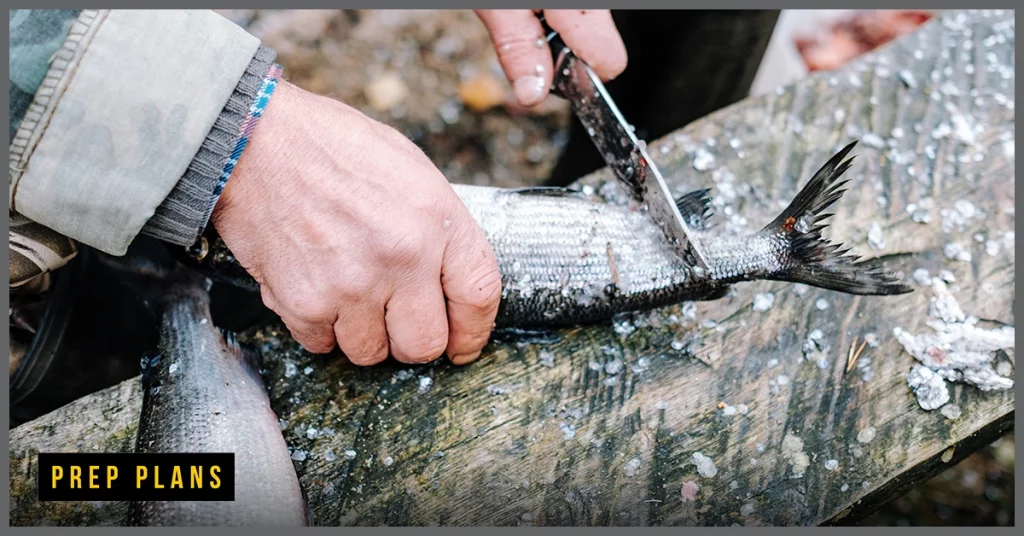
Gutting and Skinning
Removing insides from your kill prevents any further decay – it’s especially important for birds because their digestive system contains bacteria that causes decay. You have to gut your catch before skinning it so make sure you do both at once! Place your catch on a table and use a sharp knife to slice its skin from throat to tail.
Cut the skin along the stomach all the way from head to tail – then cut through skin around anus and genitals that you won’t need when cooking. These parts are usually inedible due to their high concentration of reproductive hormones, toxins and parasites which can make them unsafe for human consumption!
Cut off each leg by slicing it at both joints one after another. You should leave some skin between the legs and body because this helps with skinning later on. Remove internal organs by cutting around the anus carefully, making sure not spill any blood as you do so.
Use a small, sharp knife to cut open the animal’s chest inside out all the way to its belly. Pull out internal organs with your hands – remove heart, liver and lungs because you don’t want them when skinning or eating.
Cut off both lips including mouth skin around the mouth also cut off chin skin leaving only skin that connects face to throat behind the head. If needed, make a skinning stick from a branch 7-8 inches long and sharpen one end to make it easier to push through the skin. Use it to loosen the skin on the animal. Then pull down all skin from the neck downward using both hands and take care not to rip skin apart. After removing all fur from an animal’s skin, wash it thoroughly under running water without damaging skin too much – this will prevent cracking and help to preserve meat better in the future.
Methods for Preserving Meat
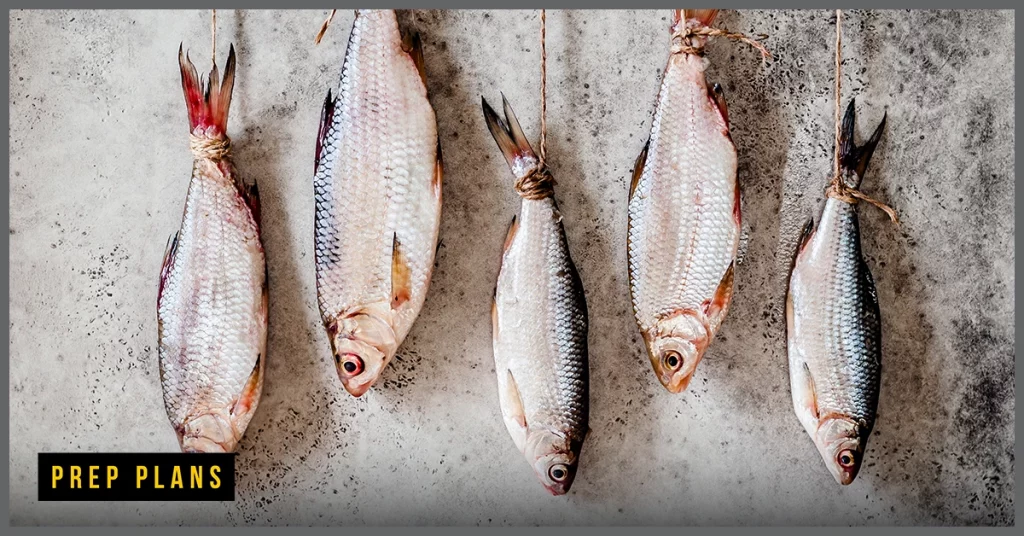
Sun Drying
Using direct sunlight to dry meat is a time-consuming process that isn’t guaranteed to preserve it indefinitely due to bacterial growth, but it lasts long enough if done properly. Cut your fresh meat into very small pieces or thin strips and make sure they are clean before placing them on a flat surface where there is plenty of sunlight. A lot of people recommend using rocks or even bones as surfaces because they can absorb excess water from the meat thus preserving its density. It will take around two days for your meat to dry out if there is sunlight.
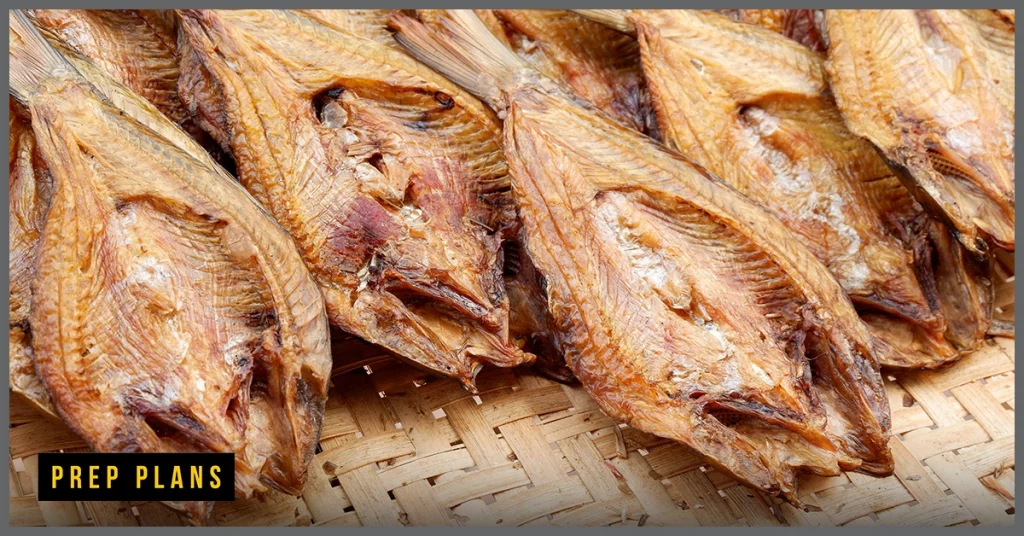
Smoking
The smoking process works very well in survival situations when done properly. Place your freshly caught meat on a smoke rack above an open fire and make sure it’s not directly exposed to flames. Instead of exposing it to a direct heat source, you should smoke your fresh meat so that its flavor becomes more intense after preserving it with smoke instead of cooking or drying. Keep in mind that this way takes around three days depending on the thickness of the cuts you have made. Thinner cuttings will take less time while a thick layer of meat may need up to four days for the preserving process to be complete. Salt is optional in this method because smoked meat alone is a relatively effective way of preserving it.
Salting
The use of salt to preserve meat has been around longer than any other preserving method. Salt draws water out of your meat by making the liquid its food cells are made out of evaporating until they no longer exist, thus killing bacteria that can cause spoilage. You shouldn’t just spread salt over the surface of your meat, you should cover every little bit of it with enough salt that the liquid flows freely and carries all bacteria away from the meat with it.
Dry Curing
Salt and dry air (high temperatures) should be present if you decide to dry cure your meat. This will help create the correct environment to be formed so the salt can work its preserving magic. Salt your meat as you’ve done previously with any other curing process that required it, place it on a rack above dry ground or sand, cover it with dry fire ashes or dry dirt and let it dry for two weeks.
Wet Curing
This curing process functions like salting without the use of salt. Instead of using products you don’t have, create a saline solution (water with high salinity measurements) and let your meat soak in it until all bacteria dies due to food scarcity. Keep in mind that a wet cure needs at least two weeks for complete preserving results to be visible – if done properly, though, wet curing is just as effective as salting meat.
Sodium Nitrate
Adding sodium nitrate to your meat can help go a long way in helping you store your meat for years. You can find sodium nitrate at almost any store. Keep an eye out for sodium nitrite (its cousin). Anytime a curing method requires a salt solution, sodium nitrate will be used. If used improperly, sodium nitrite is used in the medical field and could lead to poisoning.
Smothering
This preserving method is best used on large game like moose or bear meat, but it can also be done on smaller game if the process requires more than just preserving the meat’s surface. Moist cooking methods create steam that kills bacteria, so you should cover your moist meat with dirt which will act as an insulator and cause the steam to stay near the surface where it can kill any remaining bacteria it comes into contact with. You shouldn’t use rocks or burnt wood because they cannot absorb excess moisture from the meat, instead use dirt or wet leaves.
Soaking the Meat in Brine
Brine is a kind of salty solution that can be made from any salt with high enough measurement to keep bacteria from living. Mixing salt into water creates brine water that kills off any bacteria it comes in contact with, so you should put your meat in a brine solution and leave it until all the flesh’s cells have been penetrated by brine, which takes around two days depending on the thickness of the cuts. Brining meat will only work if you have clean water available. Impure water may cause illness when consumed due to bacterial contamination.
Salt-Curing Meat: A Step by Step Guide
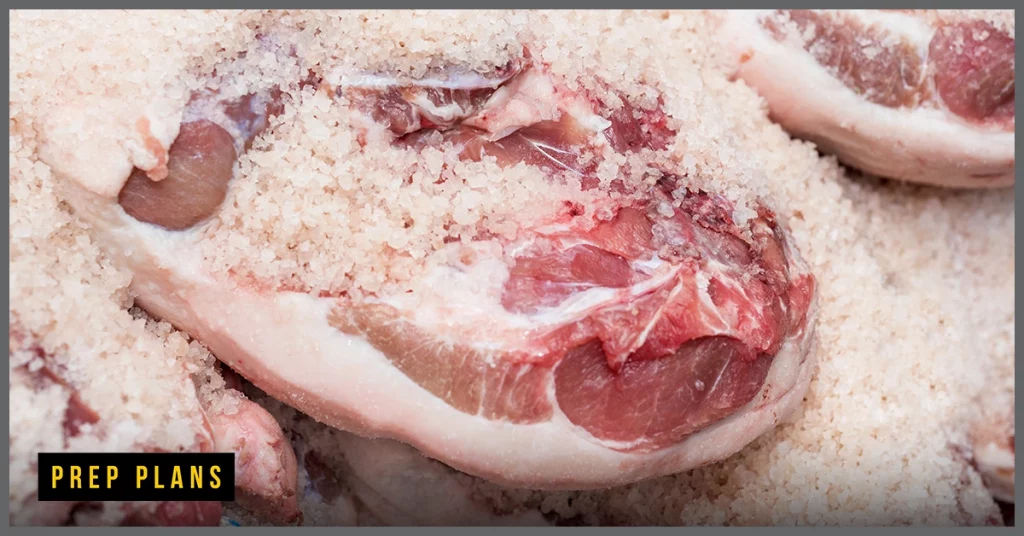
- Remove all meat from bones and cut it into smaller pieces, making sure to avoid cross-contamination.
- Wash the pieces thoroughly with water and salt them down. Use at least 1 tablespoon of table salt per pound of meat. Make sure you rub the salt in well so that there are no remaining clumps or bits sticking out – they can spoil faster than you think!
- Place your salted pieces of meat on a wooden frame above ground, cover them with leaves and let them sit there for 10 days to 2 months, depending on how much bacteria is in the area around you. The warmer the weather and the higher the humidity values the less time you’ll need to preserve your kill. You can also add more salt and change the leaves daily, but there’s no need to be too specific about this — as long as your meat is covered and wet, it will achieve its goal.
- Once this waiting period has passed, you can start smoking your meat. Use very low flamed fire and leave the pieces on there for at least 24 hours before checking if they’re done or not. If you feel like they’re getting close to being ready (this mostly applies to fish), dip them in cold water and put them back on the heat for another 12-24 hours until they’re fully cooked.
Salt curing survival techniques require a lot of patience, but if you’re willing to wait they’ll work wonders for your hunts.
Remember, survival is about being resourceful and using what’s around you as efficiently as possible. Every animal you see or think about hunting is the wrong animal unless it helps you survive longer in the wild, so don’t be afraid to use every last bit of their body parts.
Smoking Meat: Step by Step Guide
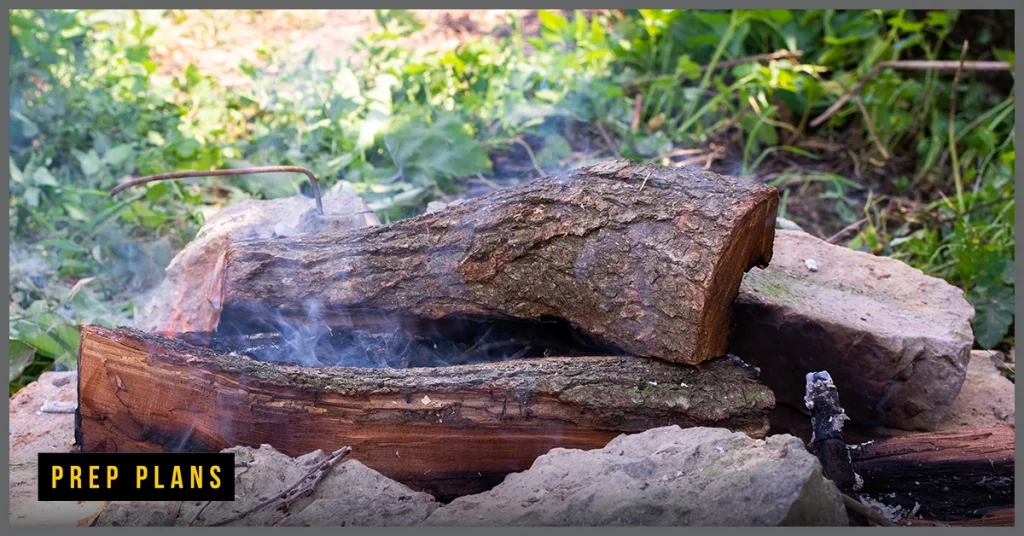
Follow these steps to smoke meat and get the best flavor possible:
- Find enough wood that’s dry enough to burn properly with low heat. The wood should also be as fine as possible so it produces more smoke than flames.
- Build a fire and let the hot coals turn into embers before placing your meat pieces on them.
- Leave all the meat to smoke for at least 24 hours, checking regularly that it’s not burning or getting too hot — if this happens, use wet leaves to cover the meat and cool down the fire immediately!
- Once you’re done, store the cooked meat in airtight containers filled with fat or oil until you need it next. If you have salt — all the better! Otherwise, make sure you don’t open your containers for at least 3 days to ensure that the meat has a chance to soak up all the oil.
Smoking techniques are much easier and less time consuming, but they can only preserve your kills for a maximum of 3 days before spoiling them completely. These methods come in handy for smaller animals like rabbits, birds, fish and even wild piglets.
Beef Jerky: Step by Step Guide
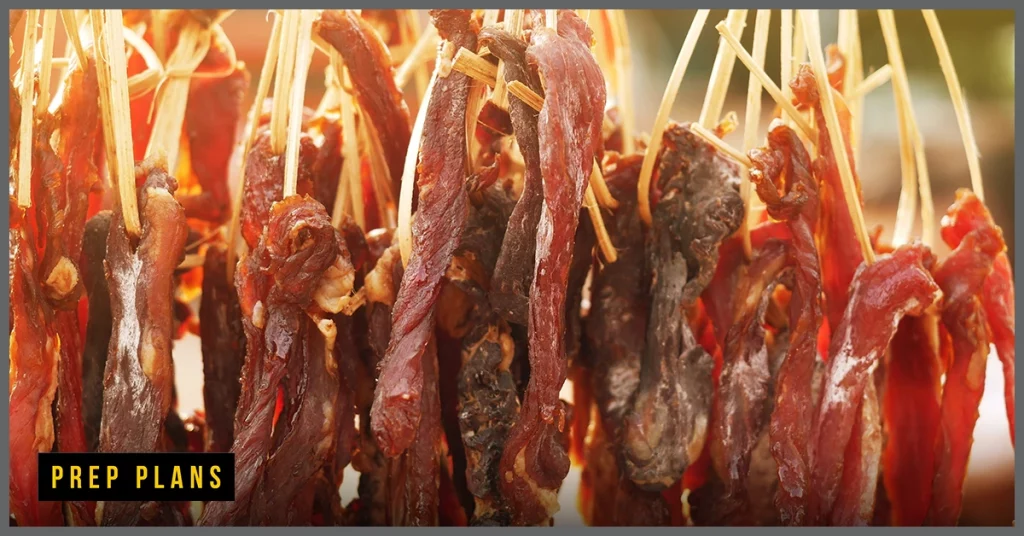
- Remove all fat and skin from the meat.
- Cut it into long, 1/4 inch thick slices.
- Cut these pieces again into jerky strips that are no more than 1/8 – 3/8 of an inch thick.
- Soak them in a brine made out of salt and water for two days at room temperature or overnight if you put it in the fridge instead. Make sure you change the solution every 12 hours to avoid bacterial contamination!
- Air dry your jerky overnight by hanging it on a stick overhanging your fire so that there’s always hot air hitting it from underneath. You can also lay down some green branches to create shade and cover the jerky with leaves before putting the fire underneath to increase air circulation.
- Once everything is dry and crispy, store away your jerky in a survival tin or strong plastic bag with as little air inside as possible.
Making jerky is a great way of preserving meat without sacrificing its taste, it’s also a lot easier than salt curing or some other preservation methods. The downside is that jerky doesn’t last more than 3 days before going bad – but if you have nothing else you can always prepare some jerky from whatever small animals you’re able to catch and eat them right away.
In case you want to save them for later, consider using salt-curing techniques instead which will ensure your jerky lasts up to 30 days before going bad completely. If this isn’t enough to get you through until the next stage in your survival journey, feel free to visit our website for more information on how long different types of jerky last, and which ones are best for storage.
Safe Meat Storage After the Preservation Process
If you’re planning on consuming homemade preserved meat after storing it for the winter, let the meat age under your roof: this means storing it in a cool and dry place for at least three days before cooking it. If you preserve meat with sodium nitrates, make sure to eat sodium nitrate-free meals during the next 24 hours (one sodium nitrate dose is one-hundredth of an ounce) because otherwise, you could get sick.
Additional Tips for Preserving Meat to Survive
- Try out a few of these options. You’ll find a primary method of prepping your meat that you can do quickly and works best for you.
- Don’t try to preserve any wild game that is not fully grown or has been injured in some way. You can store meat from smaller animals, but they tend to spoil much faster than the ones you’ll come across on an average hunting trip.
- If you make jerky, keep it as secure as possible – hanging it inside airtight containers will help prevent bugs and other pests from getting into the jerky.
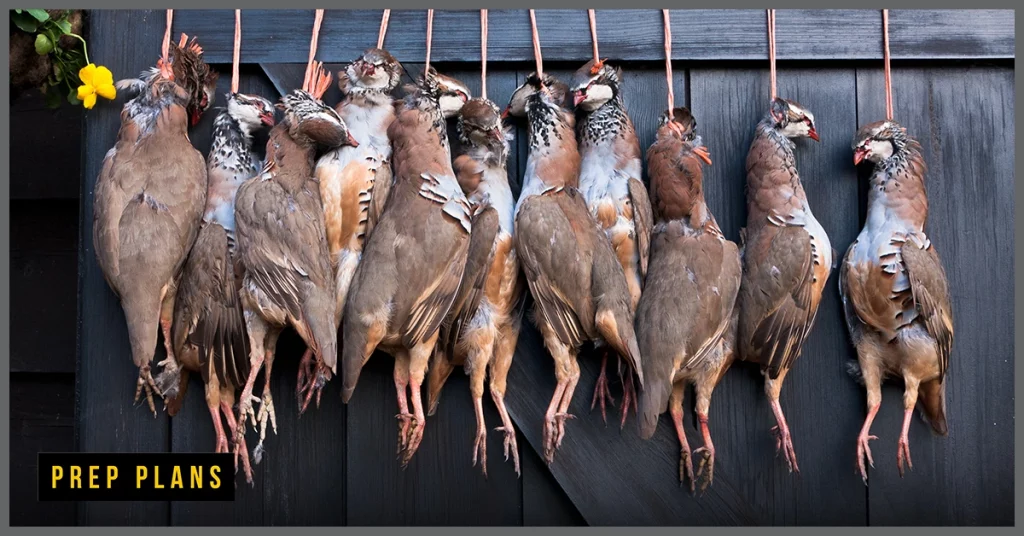
- Bird meat tends to dry much faster, so it doesn’t need as long as other meats to cure properly. This is why hunters are advised to keep the bird meat separated from the other game until preparing their meals.
- Make sure you eat all game meat within 2 days after preparing them – unless you start preparing your preserved foods with salt right away, don’t chance it! Game meats perish fast and tend to go bad very quickly if not treated correctly!
- Wild pig should be smoked for at least 20 hours before eating – because of their diet they’re full of parasites which makes them unsafe to eat without first preparing them in this way.
- Bear meat is best prepared via smoking because their diet makes them full of parasites as well. If preparing for long-term survival, however, you should cook the meat pieces at least twice before consuming them. This ensures that any parasites or bacteria have been eliminated during the cooking process.
- Hunting deer is a great way to get enough food to survive through long periods but because it can’t be preserved through smoking alone, you need to salt it correctly and keep one piece stored away every month to eat later on. You can then use this older deer meat when preparing dinner.
- You can try adding different flavors to your curing processes. Try using brown sugar in your salt mixture for a sweeter taste.
Conclusion
As you can see, there are many different ways on how to preserve meat in the wild and it is a lot easier than you would expect.
If you combine different methods before preservation, it’s likely that your food will last much longer. There are all sorts of tricks to using salt for preparing meals long before eating them, but never use the food if it’s not fully dried. This is especially important when it comes to meat, so use the information shared in this article to ensure you have enough nourishment stored away in your survival kit until making your way back home.